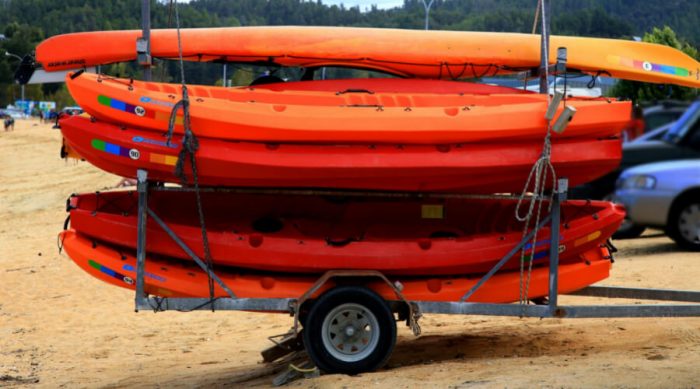
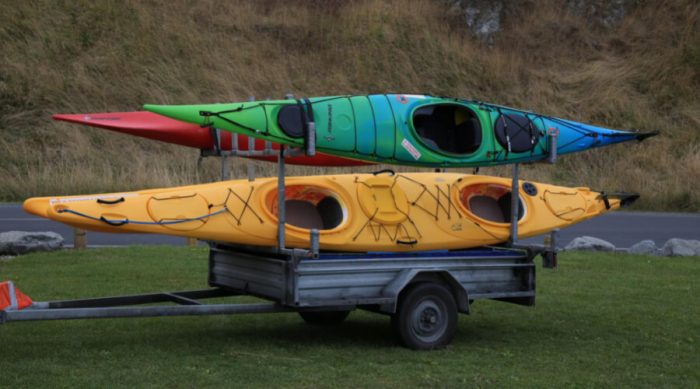
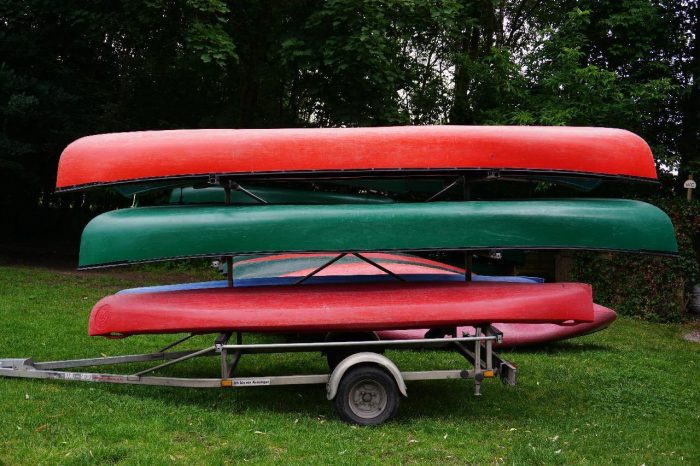
You can easily build a kayak trailer. The three main parts of a kayak trailer making process are fixing the deck, constructing the lower rack, and building the upper racks. You will need a sheet of plywood or industrial plastic, a flat base trailer, eyebolts hex bolts, lock nuts, combination wrench, power drill, 25-inch PVC pipe, etc. to build a kayak trailer.
Key Takeaways
- It is very important to attach a solid deck at the top of the trailer because it will protect the kayaks as you transport them through rough roads
- One of the key advantages of making your own kayak trailer is, you can customize the trailer based on the number of kayaks you wish to transport
- While constructing the lower rack, you can use a maximum of three brackets for every crossbar to have a solid rack
- While building the upper rack, you have to ensure that the PVC crossbars are at 90 degrees to the center arrangement of the upper rack
How Do You Build A Kayak Trailer?

Of course, it is quite tiresome to load and offload kayaks from the top of your vehicle, particularly when you own heavy kayaks. Building a kayak trailer is very cheap and straightforward. Alternatively, you can buy a ready-made trailer. Moreover, the hauler will save you the burden of car top carriers. The good thing about building a kayak carrier is that it allows you to design it based on your needs.
When building a trailer, you have to go through three main sections:
1. Fixing the Deck
2. Constructing the lower rack
3. Building the upper racks
Fixing The Deck
It is essential to attach a solid deck at the top of the trailer. The solid layer protects the kayaks as you transport them through rough roads. Usually, people use plywood to set the deck. On other occasions, some use industrial plastic because it is free from rust. Before you set out to fix the deck, it is wise to first set up the gears for kayak straps because you still have a clear view and reach to the frame. Then move to the next step of installing the eye bolts and locknuts on the holes that are located at the back and sides of the frame.
Secondly, create a diagonal cut in the deck. The cut facilitates the visibility of the large hex bolts that are usually at the curve of the trailer. Subsequently, fix the deck onto the frame and begin drilling mounting holes to attach the eight-foot beams in the next stage. The frame typically consists of three sets of holes at the front and back. The holes are used to fasten eight-foot 2×4 inches that act as the prime beams which hold the other parts of the trailer. Next, firmly secure 2 1/2’ and 5/16 hex bolts beneath the structure.
At this point, you are at liberty to customize the trailer based on the number of kayaks you wish to transport. For instance, if you have five kayaks, you can decide to build a top rack that holds three and a lower rack for holding two kayaks. You are free to research and find out more customizations that you can do if you have more kayaks.
Constructing the Lower Rack
Construction of the lower rack is straightforward. It entails laying 2, 6 foot 2×4’s across the main beams, which will serve as the crossbars, and securing them with L brackets and screws. If you want stronger crossbars, consider building them over a short edge. The crossbars are very helpful while transporting kayaks since they permit the attachment of a pipe insulator, which in turn secures the kayaks.
Here you can use a maximum of three brackets for every crossbar and resulting in a robust solid rack. As soon as you finish building the lower crossbar, proceed to drill small holes in the crossbar. Then utilize a zip strip in holding the foam tightly. At this stage, the trailer is ready to transport your two kayaks. But if you have more kayaks to transport, proceed to build the upper rack.
Building the Upper Racks
Just before you down your tools to build the upper racks, put the two kayaks on the lower rack then check the space that will remain. It is essential to take note of the space since you will attach the upper racks at the center beam, which is located on the lower rack.
Go ahead and measure a 2×4 to the height you will require. With the actual height, attach the L-bracket to the crossbar and center beam of the lower rack. Proceed to fix an L-bracket with an identical height as your previous one on the front pole and crossbar. Then connect the two brackets at the top using a 2×4 L-bracket to form a sturdy center arrangement for fixing the upper racks.
Next, fix the crossbars of the upper rack. You can choose the number and height of the crossbars by yourself. Then move to the next step of drilling holes at the center of the tube at the top. The gaps should be substantial for the heads of the fasteners to fit well. Go ahead and screw the bolts through the drilled holes at the bottom of the tubes to tighten the posts.
Ensure the PVC crossbars are at 90 degrees to the center arrangement of the upper rack. Then build your top shelf by fixing the supports. To begin with, measure and cut 4, 2×4 inches to a height that is identical to the center posts for proper leveling. The next step is to attach the support at the top of the lower rack crossbar and fix it with the L bracket.
Lastly, drill a 45-degree hole from side to side of the PVC crossbar and attach it using a fastener to the top of the support. At this point, you have a ready-structured trailer for carrying your kayaks. So you can go ahead and haul your kayaks on the carrier.
Tips On Kayak Trailer Maintenance

After building a kayak hauler, you might be asking yourself many questions on how to maintain it properly for it to last longer. Well, we have highlighted tips that are basic for trailer maintenance. Below are the tips:
1. Clean The Trailer Frequently
Trailers usually get destroyed from the inside out. Therefore, it is very wise to maintain the hauler’s body by cleaning regularly. Bearing in mind that the trailer comes in contact with salty water and oxygen, which stimulate corrosion, it is necessary to rinse the body with fresh water more often. If you use roads that are muddy to pull your trailer, it is crucial to wash the carrier as soon as you get home. After every cleaning, make sure you drain the water effectively.
2. Deal With Rust Appropriately
The joints and welds of a trailer are prone to rust, so you have to do a constant check on these areas. Every time you identify rust, you should do a proper brushing to remove it. Also, treat the affected area with a galvanizing compound such as zinc.
3. Check The Suspension
The suspension components are not commonly considered problematic. Nonetheless, you should keep them in check daily because they are prone to tear and corrosion. Be sure to apply galvanizing agents after you have washed and dried them.
Moreover, keep in check the axles and springs of the suspension twice annually. Make sure you tighten the loose bolts and replace the corroded spring.
4. Maintain The Trailer’s Hardware
The trailer’s hardware consists of all the moving parts such as spindles, rollers, brackets, and split pins. You should do frequent inspections because they affect the functioning of the trailer. Besides, wash them thoroughly and grease them to maintain proper movement.
5. Maintain The Trailer Winch And Winch’s Strap
The winch of the trailer gives safety to your kayaks. You should watch out not to overload it but use it as per its capacity of design. On the other hand, you should make sure the winch’s strap is in perfect shape and not snapped. For efficient maintenance of the belt, make sure it is dry after every use because when it is wet, it makes the drum prone to corrosion, which then damages it, and in case it is moist, unwind it and allow it dry.
6. Storage Conditions
After you have cleaned, dried, and greased the trailer, it is crucial to store it properly away from moisture, and in a well-ventilated place.
How Do You Transport A Kayak On A Trailer?

To transport a kayak on a trailer is very simple; all you have to do is tow it using a vehicle after hauling your kayak. The trailer is lightweight, so you can use any car to pull. For more comfortable transport of kayaks, you will require to have a hitch on your vehicle to attach the trailer. Once you own a trailer, you will enjoy the extra space it provides so you can utilize it to transport cargo boxes and anything you wish to carry.
Does A Trailer Have Reverse Lights
It is a requirement by law for trailers that surpass 750kg to have reverse lights. So in case you own a trailer that exceeds the mentioned weight, you should install reverse lights. Lighting is crucial as you drive. It helps in eliminating road trouble as it indicates how you are driving to other road users.
Final Thought
A kayak trailer is very helpful when it comes to transporting heavy kayaks to and from the sea. It consists of a winch strap, which protects your kayaks from wobbling as you pull. Therefore, it is a safe way to transport heavy boats. Always store the trailer properly for it to last for ages.
Key Takeaways:
https://fishlikeakat.com/2022.04.14_FLAK_HowToBuildAKayakTrailer.html
https://www.simplifiedbuilding.com/projects/build-your-own-kayak-trailer
https://www.compactcampingconcepts.com/making-a-kayak-trailer/

Rockey is a kayaking enthusiast who has been kayaking with a local group for the last five years. He loves using kayaks while out on outings on the water or camping when the friends want to have a BBQ party somewhere on the bank of a local lake. More About James R Rockey at About Page Here: Authors
Based on his experiences with the different types of kayaks, he is sharing his opinion about kayaking tricks and required gears so that a beginner can get started right away.
Find his team on Twitter here. Happy reading!
